How to Pour an Agarose Gel
If you’re looking to run an electrophoresis experiment, you’ll have to begin by pouring an agarose gel. Here, we share three distinct methods of casting gels and help you figure out which is the best fit for your lab or classroom.
Three ways to pour an agarose gel
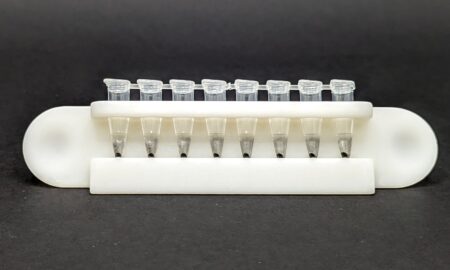
1. All-in-One Agarose Tabs™ contain all the agarose, electrophoresis buffer, and DNA stain your gel requires, allowing for fast and easy gel casting. Just dissolve in water, heat the solution, and cast your gel. Using an All-in-One Tab is the most convenient way to pour a gel: It’s faster, simplifies gel preparation, and storage is easy since Tabs have a long shelf life. Still, it conceals parts of the process of gel preparation for learners, so classroom users may prefer an alternative method.
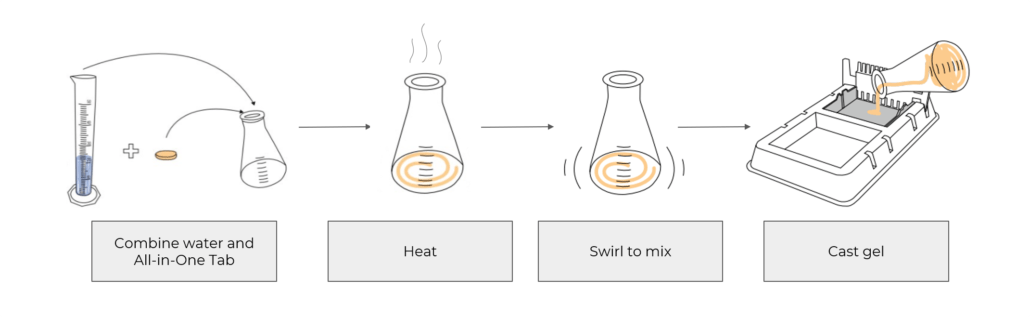
Follow video instructions for casting a gel with All-in-One Tabs
2. Another easy option for gel pouring is Agarose Tabs™. These tabs save you from weighing agarose, a tedious step that introduces an opportunity for error. They also allow for versatility, giving users the chance to choose their own DNA stain and electrophoresis buffer. Just don’t forget to add those ingredients as you cast your gel!
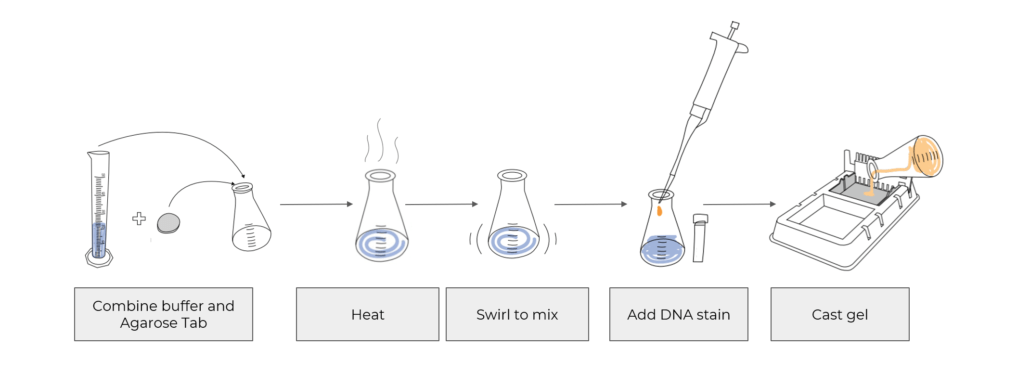
Follow video instructions for casting a gel with Agarose Tabs
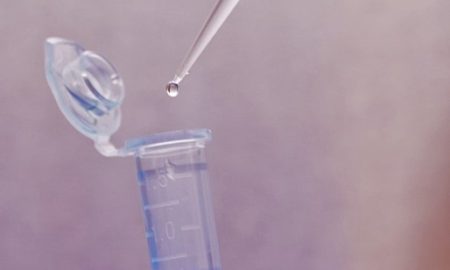
3. Lastly, using agarose powder is the traditional method for pouring gels. Using powder allows for precise measurement of the exact amount of agarose required to pour your gel, reducing the potential for waste. It also makes the entire process of gel preparation transparent for laboratory learners. However, it introduces the possibility for measurement error for students new to weighing small masses. And similar to Agarose Tabs™, using agarose powder requires adding DNA stain and buffer to the solution, steps that are easy to miss inadvertently.

Follow video instructions for casting a gel with agarose powder
Related resources:
- Video: How to Pour a Gel
- Blog post: Choosing a DNA stain for classroom use
- Tutorial: Gel electrophoresis